Featured products
-
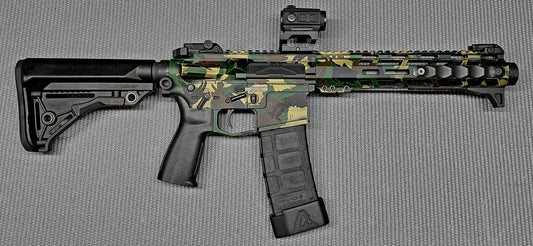
M81 Woodland Camo High Heat Vinyl Stencil Kit - 3x 11"x6" Sheets Durable, Easy, and Heat Resistant, Avery Stencil Vinyl, Cerakote Stencil
Regular price From $11.99 USDRegular price -
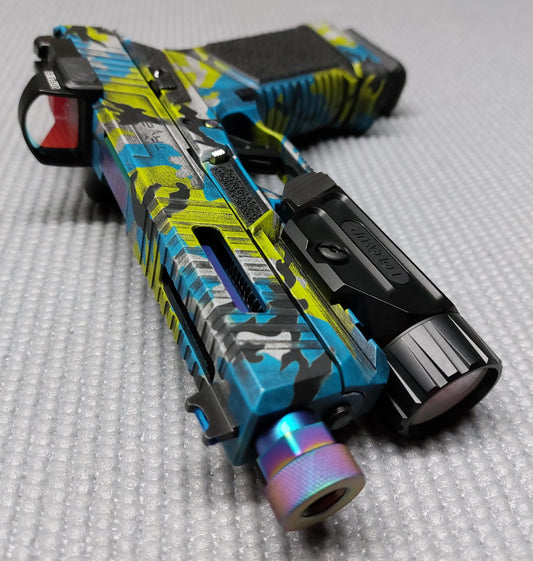
Multi Camo High Heat Vinyl Stencil Kit - 3x 11"x6" Sheets Durable, Easy to Use, and Heat Resistant, Avery Stencil Vinyl, Cerakote Stencil
Regular price From $11.99 USDRegular price -
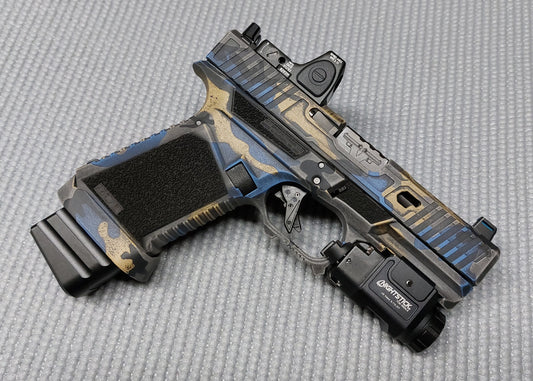
Brushstroke Camouflage High Heat Vinyl Stencil Kit - 2x 11"x6" Sheets Durable, Easy to Use, Avery Stencil Vinyl, Cerakote Stencil
Regular price From $10.99 USDRegular price -
Topographic Camo High Heat Vinyl Stencil Kit - 2x 11"x6" Sheets Durable, Easy to Use, Avery Stencil Vinyl, Cerakote Stencil
Regular price From $10.99 USDRegular price